
How It's Done
The Pipepoxy Process
A trenchless, 7-step repair that rebuilds the pipe from the inside. The deck, the tile and the landscaping above it never get touched.
Locate and confirm the leak
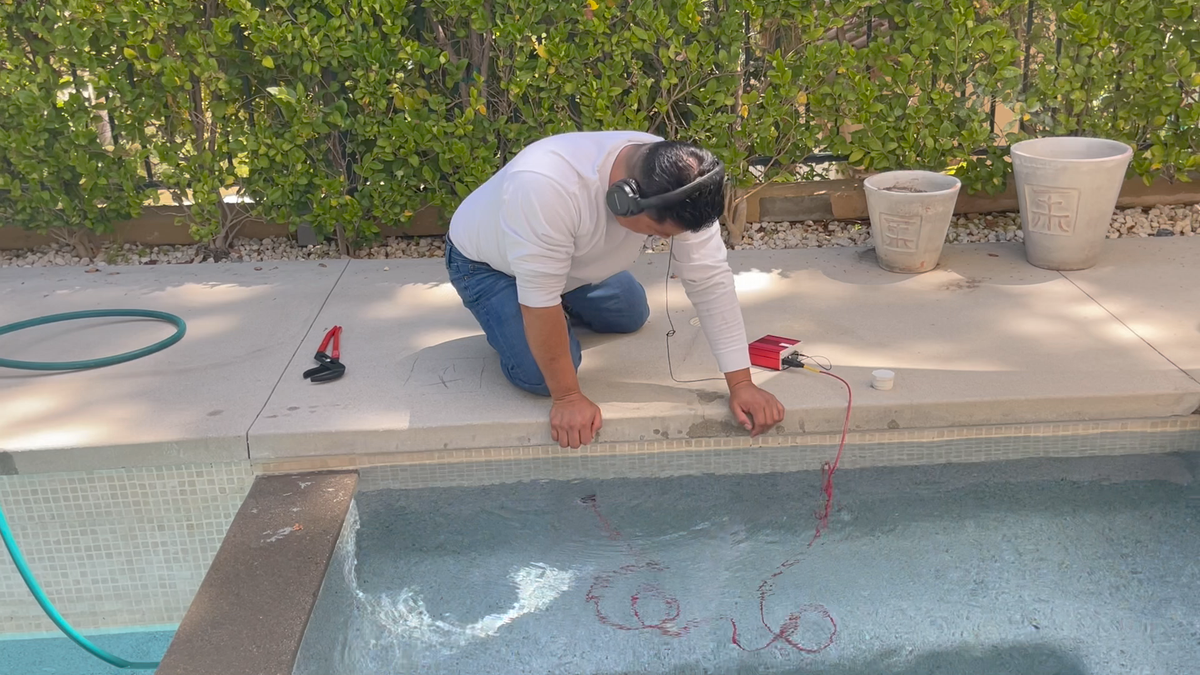
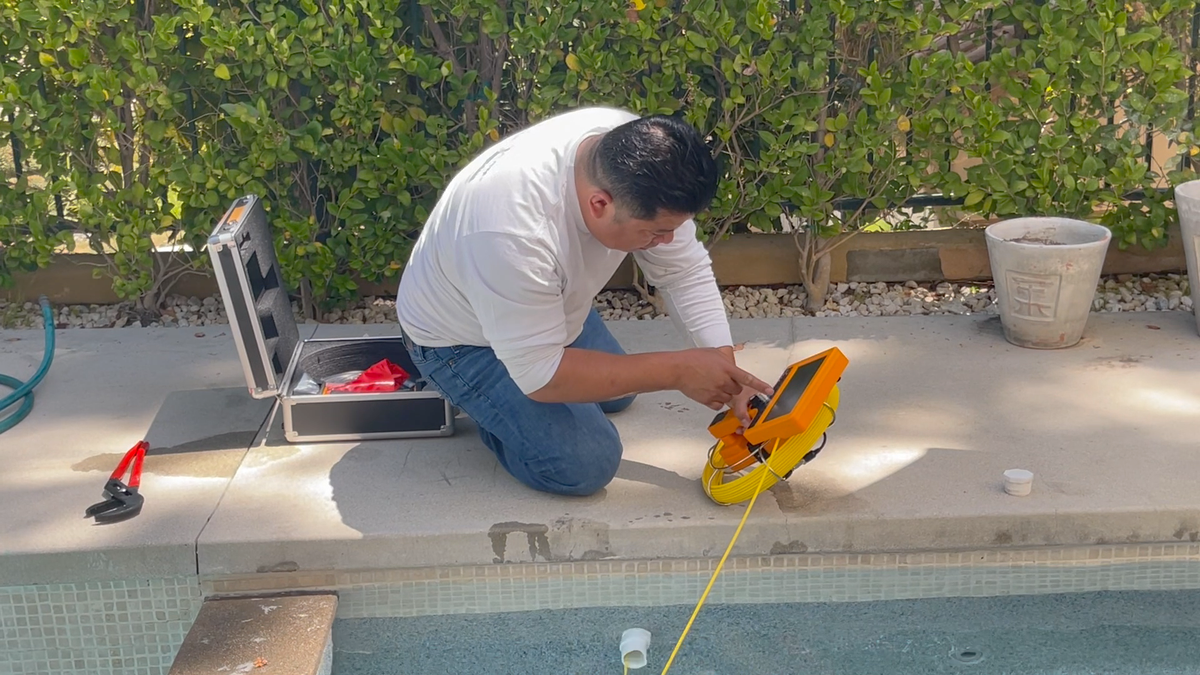
Perform a comprehensive leak detection and confirm the location with a pressure test on the pipe, hydrophones or a pipe camera. If a previous company located the leak, confirm their findings.
Purge the pipe
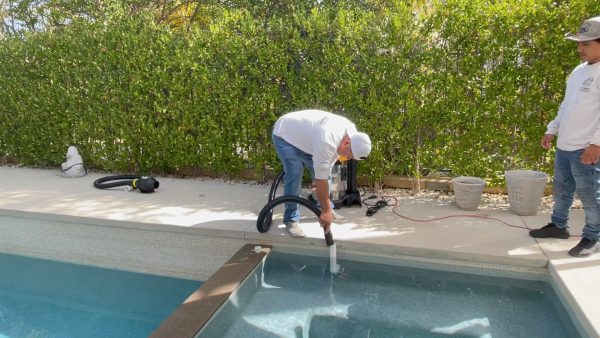
Using a blower/vacuum, blow the water out of the line. The pipe must be completely dry before you continue. Accumix will not adhere to a damp pipe.
Sand the pipe
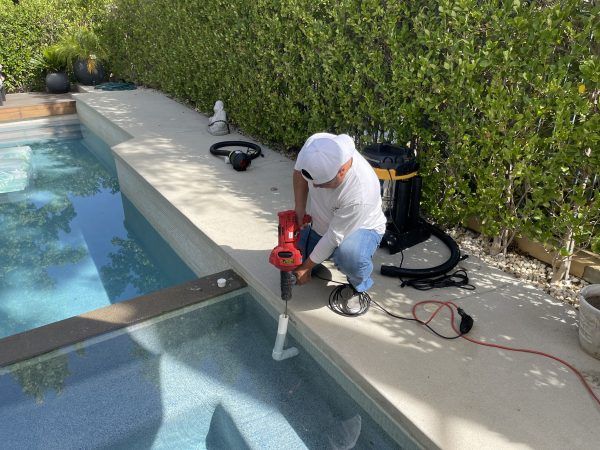
The sanding process cleans and scratches the interior of the pipe, before and after the leak, to get it ready for the Accumix. If the disc comes out wet or dirty, keep drying before moving on.
Blow out the debris
Using a blower/vacuum, clean out the line one more time to remove any of the debris from the sanding process.
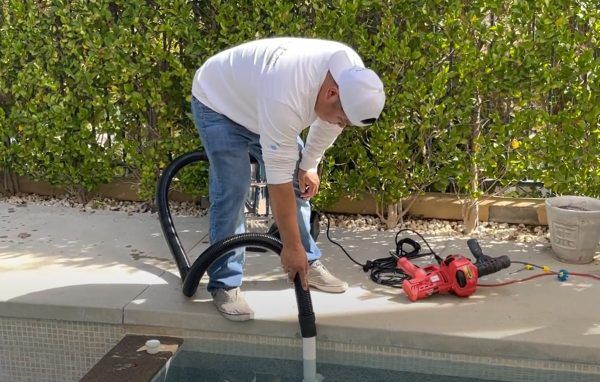
Mixing and Pouring the Accumix
Use the mixing chart to calculate how much Accumix the run needs, mix all three parts for at least 2 minutes, then pour it in to coat the interior of the pipe you are repairing.
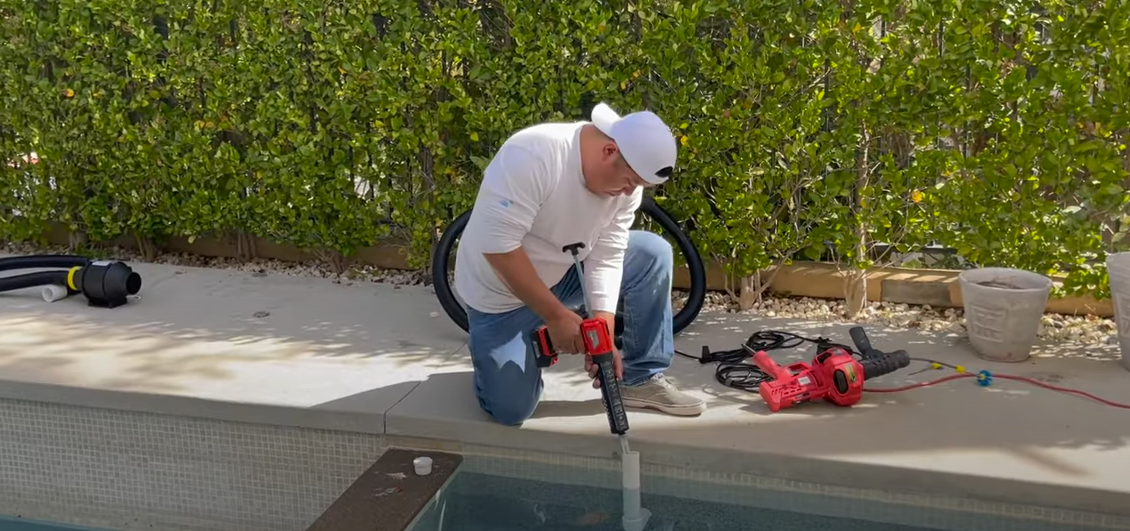
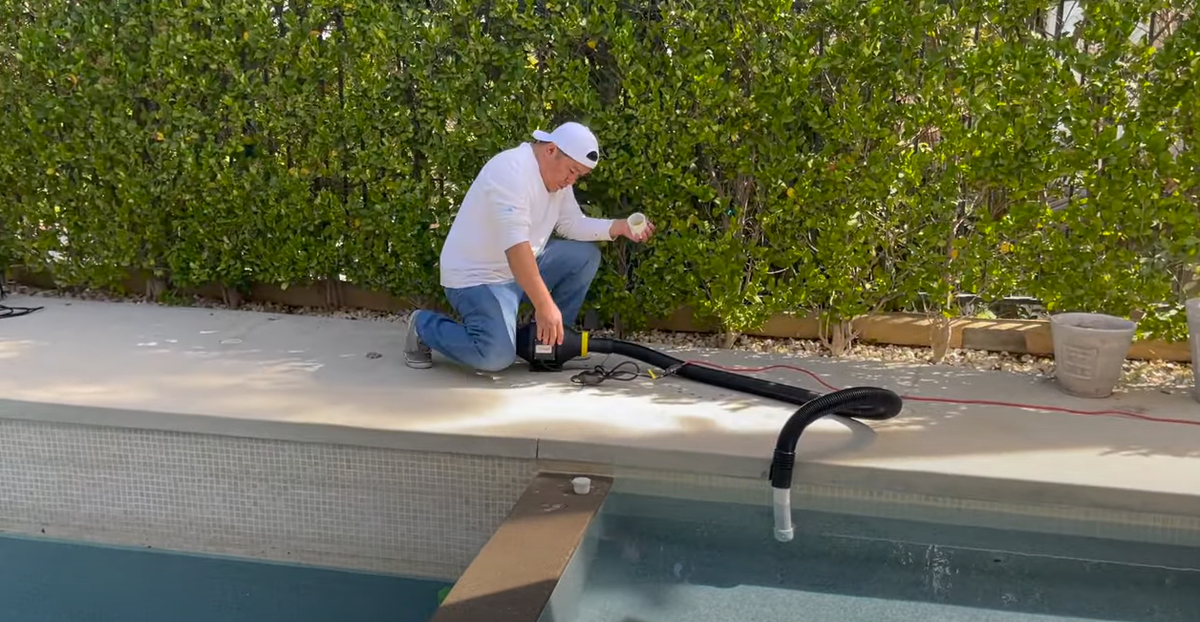
Coat the pipe and let dry
Insert the proper size brush. Make at least 3 passes forward and back so the whole pipe is coated. This pushes the epoxy out of cracks, holes, or separations. FYI: The brush is capable of passing multiple 90s. Then hook up the dryer and allow it to operate for approximately 4 hours.

Confirm the repair
Check that the Accumix test sample has fully hardened, then pressure test the line with air only. If the gauge is holding and not losing pressure, Pipepoxy has done its job and the leak has been repaired.
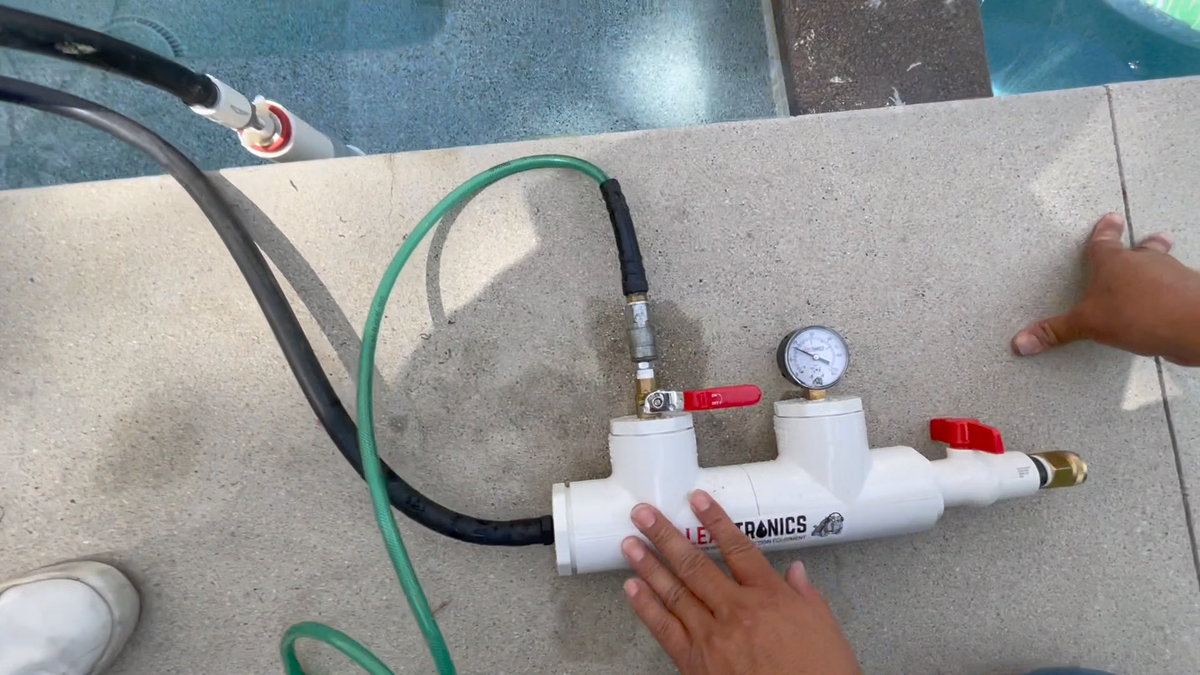
The pool is ready to be put back into normal operating mode.
Field guide
The full nine-step application guide
Everything the overview above leaves out. Written for the tech on the job.
- Drying and prep, including the checks that tell you when it's safe to coat
- Accumix mixing chart and pour amounts by pipe size
- Brushing, drying times, clean-up and the final pressure test
- Printable PDFs and safety data sheets
Get Certified
Pipepoxy Online Training Has Been UPDATED!
Get started
Ready to fix the leak without digging?
Add trenchless pipe repair to your business. No cutting, no digging, same-day return to service.
- Online training + certification included
- Unlimited technical support
- Financing available